-
Table of Contents
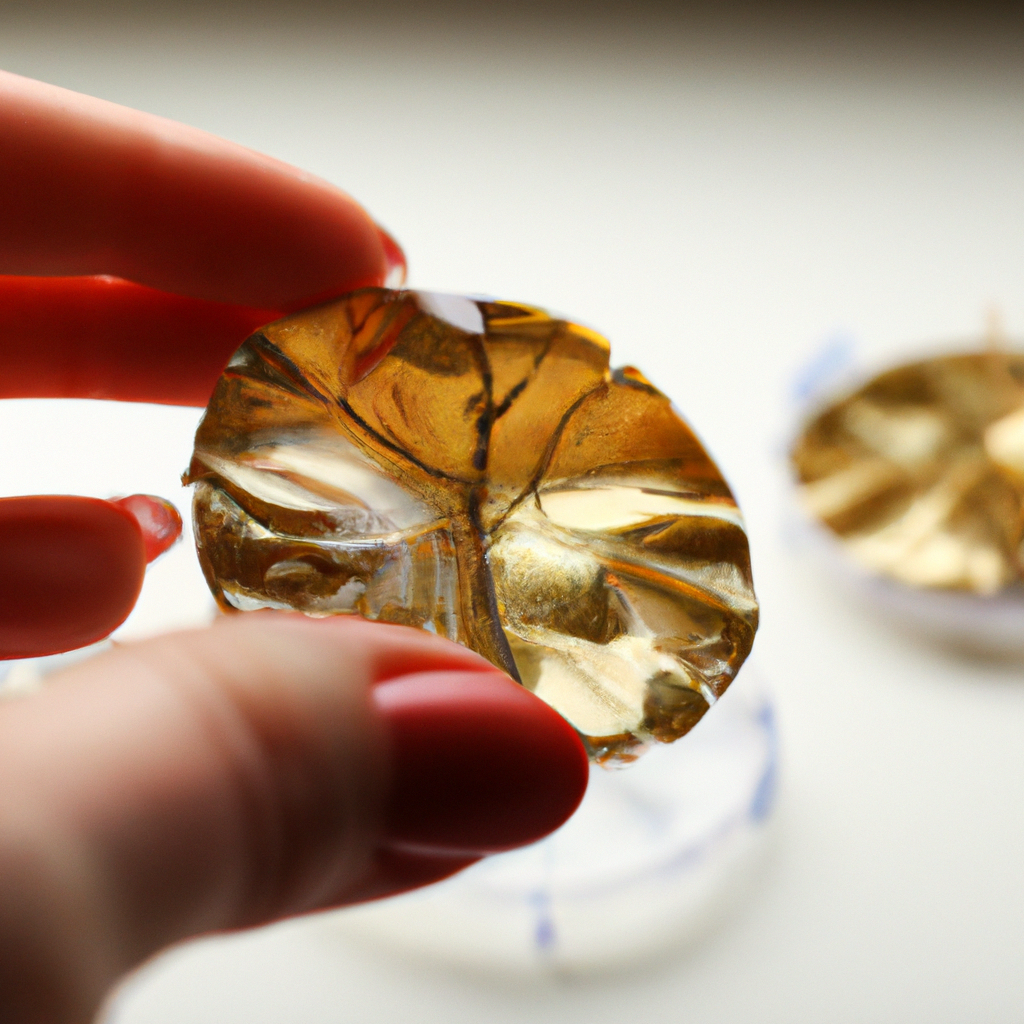
“Transform Your Creations: Elevate Jewelry with Gold Foil in Resin!”
Gold foil in resin is a captivating technique that adds a touch of luxury and elegance to jewelry crafting. This tutorial will guide you through the process of incorporating delicate gold foil into resin pieces, creating stunning effects that catch the light and enhance the overall aesthetic of your jewelry. Whether you’re a beginner or an experienced crafter, you’ll learn how to effectively use gold foil to elevate your designs, ensuring each piece is unique and eye-catching. Get ready to explore the beautiful interplay of gold and resin, and unleash your creativity in this exciting jewelry-making project.
Gold Foil Techniques for Stunning Resin Jewelry
Gold foil has emerged as a popular choice among jewelry makers, particularly in the realm of resin crafting. Its ability to add a touch of elegance and sophistication to various designs makes it an appealing option for both novice and experienced artisans. When combined with resin, gold foil can create stunning visual effects that elevate the overall aesthetic of the jewelry piece. Understanding the techniques involved in incorporating gold foil into resin is essential for achieving the desired results.
To begin with, selecting the right type of gold foil is crucial. There are various forms available, including loose leaf, sheets, and flakes. Each type offers a unique texture and appearance, allowing artisans to experiment with different styles. Loose leaf gold foil is particularly popular for its versatility, as it can be easily manipulated and applied in various ways. On the other hand, gold flakes provide a more organic look, creating a sense of depth and dimension within the resin. Regardless of the choice, ensuring that the gold foil is of high quality will significantly impact the final outcome.
Once the appropriate gold foil has been selected, the next step involves preparing the resin. It is essential to work in a well-ventilated area and to wear protective gear, such as gloves and a mask, to ensure safety during the crafting process. Mixing the resin according to the manufacturer’s instructions is vital, as improper ratios can lead to issues such as incomplete curing or cloudiness. After achieving a clear and well-mixed resin, artisans can begin to incorporate the gold foil.
One effective technique for embedding gold foil in resin is to layer it within the mixture. This method involves pouring a small amount of resin into the mold, followed by strategically placing pieces of gold foil on top. Afterward, additional resin can be poured over the foil to encapsulate it fully. This layering technique not only enhances the visual appeal but also allows for greater control over the placement of the gold foil, ensuring that it is evenly distributed throughout the piece.
Another approach is to create a marbled effect by mixing the gold foil directly into the resin before pouring it into the mold. This technique requires a gentle hand, as excessive stirring can lead to the foil becoming too dispersed, losing its striking appearance. Instead, artisans should aim for a swirled effect, where the gold foil is visible in distinct patches throughout the resin. This method can create a dynamic and eye-catching design that draws attention to the interplay between the gold and the resin.
In addition to these techniques, it is important to consider the curing process. Allowing the resin to cure fully is essential for achieving a durable and long-lasting piece of jewelry. Depending on the type of resin used, curing times may vary, so following the manufacturer’s guidelines is crucial. Once cured, the jewelry can be sanded and polished to achieve a smooth finish, further enhancing the brilliance of the gold foil.
In conclusion, incorporating gold foil into resin jewelry crafting opens up a world of creative possibilities. By selecting the right type of gold foil, mastering various embedding techniques, and ensuring proper curing, artisans can create stunning pieces that showcase the beauty of both materials. As the popularity of resin jewelry continues to grow, experimenting with gold foil techniques will undoubtedly lead to unique and captivating designs that stand out in the world of handmade accessories.
Step-by-Step Guide to Incorporating Gold Foil in Resin
Incorporating gold foil into resin is a captivating way to enhance the aesthetic appeal of jewelry pieces, adding a touch of elegance and luxury. This step-by-step guide will provide you with the necessary instructions to successfully integrate gold foil into your resin creations, ensuring a beautiful and professional finish. To begin, gather all the essential materials, which include epoxy resin, hardener, gold foil sheets, mixing cups, stirring sticks, gloves, and a mold for your jewelry piece. It is crucial to work in a well-ventilated area, as the resin can emit fumes during the curing process.
Once you have assembled your materials, the first step is to prepare the resin mixture. Carefully follow the manufacturer’s instructions regarding the ratio of resin to hardener, as this can vary between products. In most cases, a 1:1 ratio is common. Measure the components accurately using the mixing cups, and then combine them in a larger mixing container. As you stir the mixture, ensure that you do so thoroughly for at least three to five minutes, as this will help to eliminate any bubbles and ensure a uniform consistency. It is advisable to use a slow and steady motion to minimize the introduction of air bubbles.
After achieving a well-mixed resin, the next step involves incorporating the gold foil. Before doing so, tear the gold foil sheets into smaller pieces, as this will allow for a more organic and visually appealing distribution within the resin. The size of the pieces can vary according to your personal preference, but smaller fragments tend to create a more delicate effect. Once you have prepared the gold foil, gently fold it into the resin mixture. It is important to do this carefully to avoid clumping, as you want the gold foil to be evenly dispersed throughout the resin.
Following the incorporation of the gold foil, the next phase is to pour the resin mixture into your mold. Before pouring, ensure that the mold is clean and dry to prevent any imperfections in the final product. Slowly pour the resin into the mold, allowing it to fill the cavity without overflowing. If you notice any bubbles forming on the surface, you can use a heat gun or a torch to gently pass over the surface, which will help to pop the bubbles and create a smooth finish.
Once the resin has been poured, it is essential to let it cure undisturbed. The curing time can vary depending on the type of resin used, but it typically ranges from 24 to 72 hours. During this time, it is crucial to keep the mold in a dust-free environment to avoid any contaminants settling on the surface. After the curing period has elapsed, carefully demold your jewelry piece. At this stage, you may notice some rough edges, which can be smoothed out using fine-grit sandpaper.
Finally, to enhance the overall appearance of your jewelry, consider applying a clear topcoat or resin layer. This additional step will not only provide a glossy finish but also protect the gold foil and ensure longevity. Once the topcoat has cured, your stunning gold foil resin jewelry is ready to be worn or gifted. By following these steps, you can create exquisite pieces that showcase the beauty of gold foil, elevating your jewelry crafting to new heights.
Tips for Achieving a Professional Finish with Gold Foil in Resin Jewelry
When embarking on the journey of crafting resin jewelry with gold foil, achieving a professional finish is paramount to elevating the aesthetic appeal of your creations. To begin with, it is essential to select high-quality materials, as the foundation of any successful project lies in the components used. Opt for a clear epoxy resin that is specifically designed for jewelry making, as this type of resin cures to a crystal-clear finish, allowing the gold foil to shine through beautifully. Additionally, ensure that the gold foil you choose is genuine or high-quality imitation, as the texture and color will significantly impact the final appearance of your piece.
Preparation is another critical aspect of the process. Before mixing your resin, gather all necessary tools and materials, including mixing cups, stir sticks, gloves, and a heat gun or torch for removing bubbles. It is advisable to work in a well-ventilated area, as the fumes from resin can be potent. Furthermore, ensure that your workspace is clean and free from dust, as any particles can mar the surface of your jewelry. Once your workspace is prepared, measure the resin and hardener accurately according to the manufacturer’s instructions, as improper ratios can lead to incomplete curing or a cloudy finish.
As you mix the resin, take care to stir slowly and thoroughly to minimize the introduction of air bubbles. After mixing, allow the resin to sit for a few minutes, which can help any bubbles that have formed rise to the surface. This step is crucial, as bubbles can detract from the overall clarity and professionalism of your finished piece. Once you have allowed the resin to rest, you can begin incorporating the gold foil. It is advisable to tear the foil into small pieces rather than cutting it, as this creates a more organic look and allows for better integration into the resin.
When adding gold foil to the resin, consider the placement and density of the foil pieces. A balanced distribution will create a visually appealing effect, while too much foil can overwhelm the design. Gently fold or crumple the foil before adding it to the resin, as this technique can create depth and texture, enhancing the overall aesthetic. After adding the gold foil, pour the resin into your mold slowly, allowing it to flow over the foil and encapsulate it fully. This method ensures that the foil adheres well to the resin and prevents it from floating to the surface.
Once the resin is poured, it is essential to eliminate any remaining bubbles. Using a heat gun or torch, carefully pass over the surface of the resin, keeping the tool at a safe distance to avoid overheating. This technique will help to pop any surface bubbles and create a smooth finish. After this step, allow the resin to cure according to the manufacturer’s instructions, typically 24 to 48 hours. During this time, it is crucial to avoid disturbing the piece, as any movement can lead to imperfections.
Finally, once the resin has fully cured, demold your jewelry and inspect it for any imperfections. If necessary, you can sand the edges for a smooth finish or apply a clear topcoat to enhance the shine. By following these tips and techniques, you can achieve a professional finish in your gold foil resin jewelry, resulting in stunning pieces that showcase your craftsmanship and creativity. With practice and attention to detail, your creations will undoubtedly reflect the elegance and sophistication that gold foil can bring to resin jewelry.
Q&A
1. **What materials are needed for incorporating gold foil in resin jewelry?**
– You will need epoxy resin, hardener, gold foil sheets, mixing cups, stir sticks, gloves, a mold, and a heat gun or torch.
2. **How do you prepare the gold foil for use in resin?**
– Tear or cut the gold foil into small pieces or shapes, ensuring they are manageable for placement in the resin.
3. **What is the process for embedding gold foil in resin?**
– Mix the resin and hardener according to the manufacturer’s instructions, pour a layer into the mold, place the gold foil pieces on top, then pour additional resin to cover. Allow it to cure as directed.Gold foil in resin adds a luxurious and eye-catching element to jewelry crafting. By incorporating gold foil, crafters can create unique pieces that reflect light beautifully and enhance the overall aesthetic of the jewelry. The process involves careful layering and mixing techniques to ensure the foil is evenly distributed within the resin, resulting in stunning designs. This tutorial highlights the versatility of resin as a medium and the transformative effect of gold foil, making it an excellent choice for both novice and experienced jewelry makers looking to elevate their creations.