-
Table of Contents
“Sparkle Up Your Style: Easy Steps to Add Glitter to UV Resin Necklaces!”
Adding glitter to UV resin necklaces is a creative way to enhance their visual appeal and add a touch of sparkle. This process allows you to customize your jewelry pieces, making them unique and eye-catching. By combining the shimmering effects of glitter with the clarity of UV resin, you can create stunning designs that catch the light beautifully. In this guide, we will explore the steps to effectively incorporate glitter into your UV resin necklaces, ensuring a flawless finish and vibrant results.
Choosing the Right Glitter for UV Resin Necklaces
When embarking on the journey of creating UV resin necklaces, one of the most exciting aspects is the incorporation of glitter. The right glitter can elevate your design, adding a touch of sparkle and dimension that captures the eye. However, choosing the appropriate glitter for your UV resin project requires careful consideration of several factors to ensure a successful outcome.
To begin with, it is essential to understand the different types of glitter available on the market. Glitter can be categorized into various sizes, shapes, and materials, each contributing uniquely to the final appearance of your necklace. For instance, fine glitter offers a subtle shimmer, creating a smooth and uniform finish, while chunky glitter provides a more dramatic effect with its larger particles. Depending on the aesthetic you wish to achieve, you may opt for one over the other or even combine both for a more textured look.
Moreover, the material of the glitter plays a crucial role in its compatibility with UV resin. Most commonly, glitter is made from plastic, but there are also options made from metal or glass. Plastic glitter is generally the most popular choice for resin projects due to its lightweight nature and vibrant colors. However, it is vital to ensure that the glitter is specifically labeled as non-toxic and safe for use in crafts, especially if the finished necklace will be worn close to the skin. On the other hand, metal and glass glitters can add a unique touch but may require additional care, as they can be heavier and may affect the curing process of the resin.
In addition to material and size, color selection is another critical aspect of choosing glitter for your UV resin necklaces. The color of the glitter should complement the resin and any other elements you plan to incorporate, such as beads or charms. Consider the overall theme or color palette of your design. For instance, if you are creating a necklace with a beach theme, shades of blue and gold glitter can evoke the essence of the ocean and sand. Conversely, if you are aiming for a more elegant look, opting for iridescent or metallic glitters can add sophistication and depth.
Furthermore, it is advisable to test the glitter in small batches before committing to a larger project. Mixing a small amount of glitter with your UV resin and curing it can help you visualize how the glitter interacts with the resin and how it appears once cured. This step is particularly important as some glitters may lose their vibrancy or change color when mixed with resin, while others may not disperse evenly, leading to an undesirable finish.
Lastly, consider the quantity of glitter you wish to use. A little can go a long way, and overloading your resin with glitter can lead to a cloudy appearance rather than the desired sparkle. Striking the right balance will enhance the visual appeal of your necklace while maintaining clarity in the resin.
In conclusion, selecting the right glitter for your UV resin necklaces involves a thoughtful approach that considers size, material, color, and quantity. By taking the time to choose wisely, you can create stunning pieces that not only showcase your creativity but also reflect your personal style. With the right glitter, your UV resin necklaces can truly shine, making them not just accessories but also works of art.
Step-by-Step Guide to Adding Glitter to UV Resin
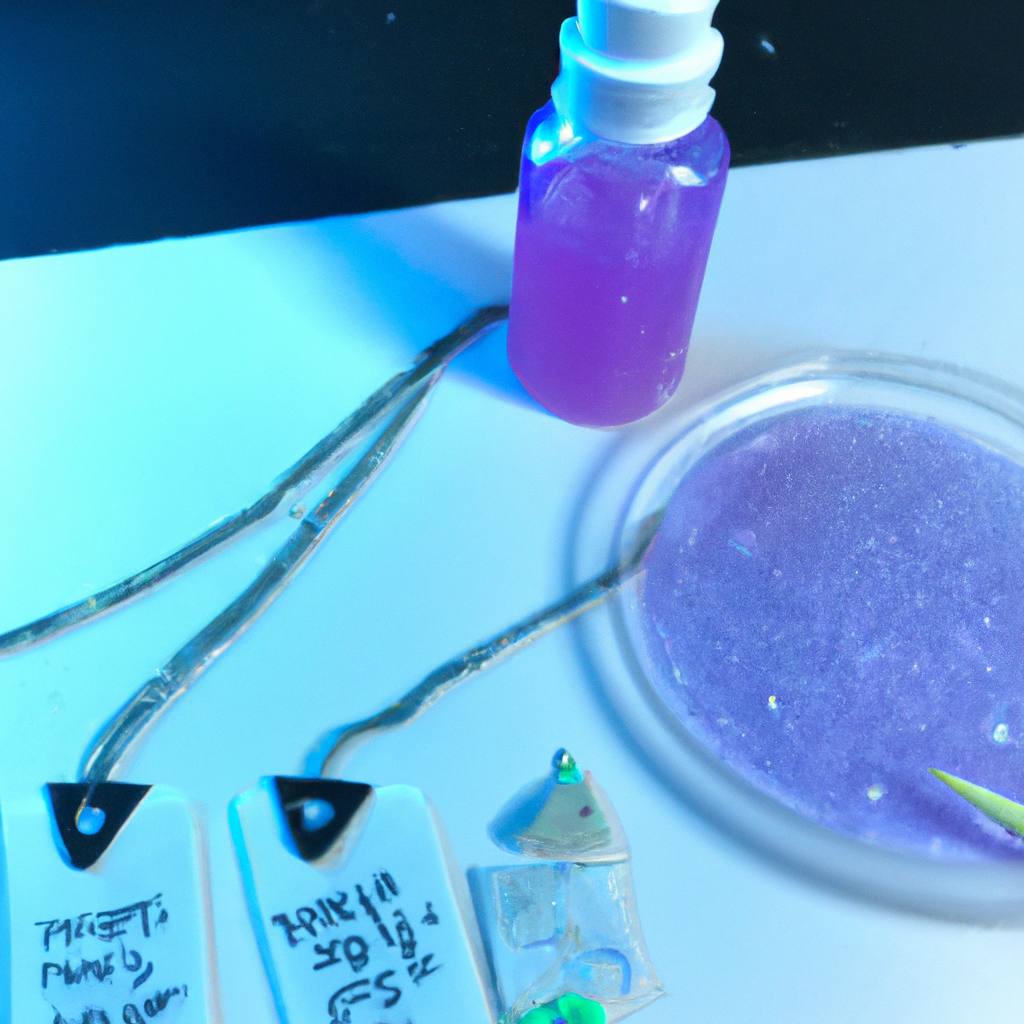
Adding glitter to UV resin necklaces can elevate their aesthetic appeal, transforming a simple piece of jewelry into a dazzling accessory. The process, while straightforward, requires attention to detail to ensure a professional finish. To begin, gather all necessary materials, including UV resin, glitter in your desired color and size, a mixing tool, a small container for mixing, and a UV light for curing. It is essential to choose high-quality UV resin, as this will affect the clarity and durability of the final product.
Once you have assembled your materials, the first step is to prepare your workspace. Ensure that the area is clean and well-ventilated, as working with resin can produce fumes. Lay down a protective covering to prevent any spills from damaging your work surface. After preparing your workspace, measure out the appropriate amount of UV resin based on the size of your necklace mold. It is advisable to start with a small quantity, as you can always mix more if needed.
Next, pour the measured resin into your mixing container. At this stage, you can begin to incorporate the glitter. It is important to consider the type of glitter you wish to use; fine glitter will create a subtle shimmer, while larger flakes can produce a more dramatic effect. Gradually add the glitter to the resin, stirring gently to ensure an even distribution. Be cautious not to overmix, as this can introduce air bubbles into the resin, which may compromise the clarity of the finished piece.
After achieving the desired glitter-to-resin ratio, the next step is to pour the mixture into your necklace mold. Carefully pour the resin into the mold, taking care to avoid overfilling. If you notice any air bubbles forming on the surface, you can use a toothpick or a small tool to gently pop them. This step is crucial, as trapped air bubbles can detract from the overall appearance of the necklace. Once the mold is filled, it is advisable to let the resin sit for a few minutes to allow any remaining bubbles to rise to the surface.
Following this, it is time to cure the resin. Place the mold under a UV light, ensuring that it is positioned correctly for even exposure. The curing process typically takes between two to five minutes, depending on the strength of your UV light. It is essential to monitor the curing process closely, as overexposure can lead to a tacky finish. Once the resin has fully cured, carefully remove the necklace from the mold. At this point, you may notice some rough edges or imperfections; these can be smoothed out using fine-grit sandpaper.
Finally, to enhance the overall look of your necklace, consider adding a protective topcoat. This step not only adds an extra layer of shine but also helps to seal in the glitter, ensuring that it remains vibrant over time. Allow the topcoat to dry completely before attaching any clasps or chains. With these steps completed, you will have successfully created a stunning UV resin necklace adorned with glitter, ready to be worn or gifted. The process of adding glitter to UV resin is not only enjoyable but also allows for endless creativity, enabling you to experiment with different colors and styles to create unique pieces that reflect your personal taste.
Tips for Achieving a Sparkling Finish with Glitter in UV Resin
Adding glitter to UV resin necklaces can elevate their aesthetic appeal, transforming a simple piece of jewelry into a dazzling accessory. However, achieving a sparkling finish requires careful consideration of various factors, including the type of glitter used, the application technique, and the curing process. By following a few essential tips, you can ensure that your UV resin creations shine brilliantly.
To begin with, selecting the right type of glitter is crucial. There are numerous varieties available, ranging from fine to chunky, and each offers a different visual effect. Fine glitter tends to create a more uniform sparkle, while chunky glitter can add texture and dimension to your piece. It is advisable to experiment with both types to determine which best suits your design vision. Additionally, consider the color and opacity of the glitter; transparent or semi-transparent glitters can create a more ethereal look, while opaque glitters provide a bolder statement.
Once you have chosen your glitter, the next step is to prepare your UV resin. It is essential to mix the glitter into the resin thoroughly to ensure an even distribution. This can be achieved by adding the glitter to the resin before pouring it into the mold. Stir gently but thoroughly, as vigorous mixing can introduce air bubbles that may compromise the clarity of the finished piece. If you prefer a layered effect, you can pour a base layer of clear resin, allow it to cure partially, and then sprinkle the glitter on top before adding another layer of resin. This technique not only enhances the visual depth but also helps to encapsulate the glitter, providing a smooth finish.
When applying the glitter-infused resin to your mold, it is important to pour slowly and steadily. This method minimizes the risk of trapping air bubbles, which can detract from the overall appearance of the necklace. If bubbles do form, a quick pass with a heat gun or a lighter can help to eliminate them, as the heat causes the bubbles to rise to the surface and pop. However, caution is advised; excessive heat can also cause the resin to cure too quickly or warp the mold.
After pouring the resin, the curing process is critical for achieving a sparkling finish. UV resin typically cures under UV light, and it is essential to ensure that the entire surface is exposed to the light for an adequate amount of time. If certain areas remain uncured, they may appear cloudy or tacky, diminishing the overall brilliance of the piece. To achieve an even cure, rotate the mold periodically during the curing process, allowing all sides to receive equal exposure to the light.
Finally, once the resin has fully cured, you may want to consider adding a top coat of clear resin to enhance the shine and protect the glitter. This additional layer can create a glass-like finish, amplifying the sparkle of the glitter beneath. After applying the top coat, allow it to cure completely before removing the necklace from the mold.
In conclusion, adding glitter to UV resin necklaces can result in stunning jewelry pieces that capture light beautifully. By carefully selecting the right glitter, mixing it properly with the resin, applying it thoughtfully, and ensuring a thorough curing process, you can achieve a sparkling finish that showcases your creativity and craftsmanship. With practice and attention to detail, your UV resin necklaces will undoubtedly shine with brilliance and charm.
Q&A
1. **What type of glitter should I use for UV resin necklaces?**
Use fine or ultra-fine glitter that is specifically designed for use in resin projects, as it will mix well and create a smooth finish.
2. **How do I add glitter to the UV resin?**
Mix the desired amount of glitter into the UV resin before pouring it into the mold, ensuring even distribution.
3. **Can I layer glitter in my UV resin necklace?**
Yes, you can layer different colors or types of glitter by curing each layer of resin separately before adding the next layer.To add glitter to UV resin necklaces, first, prepare your workspace and gather materials including UV resin, glitter, a mixing tool, and a mold. Mix the desired amount of glitter into the UV resin thoroughly to ensure an even distribution. Pour the glitter-infused resin into the mold, ensuring it fills the desired shape. Use a UV light to cure the resin according to the manufacturer’s instructions, typically for a few minutes. Once cured, remove the necklace from the mold, and it’s ready to wear. This technique enhances the visual appeal of the necklace while maintaining the durability of the resin.