-
Table of Contents
“Transform Your Memories: Elevate Scrapbooking and Crafts with Resin Magic!”
Resin is a versatile material that can elevate your scrapbooking and craft projects by adding a glossy finish and unique three-dimensional effects. This introduction will guide you through the essential steps and techniques for using resin effectively in your creative endeavors. From selecting the right type of resin to preparing your workspace, mixing, pouring, and curing, you’ll learn how to incorporate resin into your scrapbooking layouts, embellishments, and other crafts. With the right approach, resin can enhance your projects, making them more durable and visually striking.
Choosing the Right Resin for Your Scrapbooking Projects
When embarking on scrapbooking projects that incorporate resin, selecting the appropriate type of resin is crucial to achieving the desired aesthetic and functional outcomes. The market offers a variety of resins, each with unique properties that cater to different crafting needs. Therefore, understanding these distinctions is essential for any crafter looking to enhance their scrapbooking endeavors.
To begin with, epoxy resin is one of the most popular choices among scrapbookers. This type of resin is known for its clarity and durability, making it ideal for encapsulating photographs, embellishments, and other decorative elements. When mixed correctly, epoxy resin cures to a glass-like finish, which not only enhances the visual appeal of the scrapbook page but also provides a protective layer over the items embedded within. Additionally, epoxy resin is relatively easy to work with, as it typically has a longer working time compared to other resins, allowing crafters to manipulate and adjust their designs before the resin sets.
In contrast, UV resin is another option that has gained popularity in recent years. This resin cures quickly when exposed to ultraviolet light, making it an excellent choice for those who prefer a faster crafting process. However, it is important to note that UV resin may not provide the same level of clarity and depth as epoxy resin, particularly in larger applications. Therefore, while UV resin can be suitable for smaller embellishments or accents, it may not be the best choice for larger areas or for projects requiring a high degree of transparency.
Moreover, polyester resin is another alternative that crafters might consider. This type of resin is often used in larger projects and can be more cost-effective than epoxy resin. However, polyester resin tends to have a stronger odor and may require more safety precautions during use. Additionally, it can be more challenging to achieve a clear finish with polyester resin, as it is more prone to yellowing over time. Consequently, while it may be suitable for certain applications, scrapbookers should weigh the pros and cons carefully before opting for polyester resin.
When choosing the right resin for scrapbooking projects, it is also essential to consider the specific requirements of the project at hand. For instance, if the goal is to create a three-dimensional effect or to embed larger objects, epoxy resin may be the most suitable choice due to its superior clarity and strength. Conversely, if the project involves smaller embellishments or quick repairs, UV resin could be the more efficient option.
Furthermore, it is advisable to pay attention to the curing time and working conditions associated with each type of resin. Some resins may require specific temperature ranges or humidity levels to cure effectively, which can impact the final outcome of the project. Therefore, reading the manufacturer’s instructions and conducting a small test run can help ensure that the chosen resin performs as expected.
In conclusion, selecting the right resin for scrapbooking projects involves careful consideration of the specific needs of the project, the properties of the resin types available, and the desired final appearance. By understanding the differences between epoxy, UV, and polyester resins, crafters can make informed decisions that enhance their creative expressions while ensuring the longevity and quality of their scrapbook pages. Ultimately, the right resin can transform a simple scrapbook into a stunning work of art, preserving memories for years to come.
Step-by-Step Guide to Embedding Items in Resin
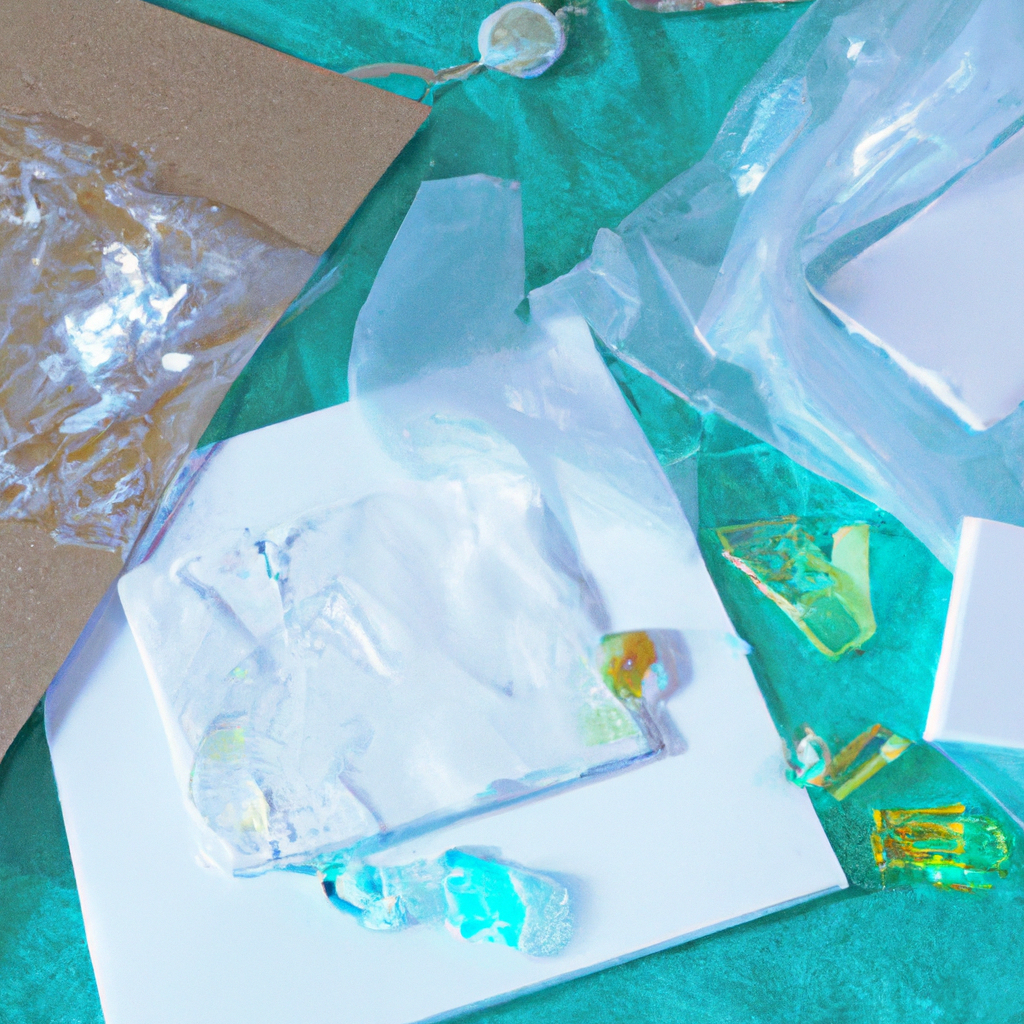
Embedding items in resin is a captivating technique that can elevate your scrapbooking and crafting projects, allowing for the preservation of cherished memories and the creation of unique decorative pieces. To begin this process, it is essential to gather all necessary materials, which typically include epoxy resin, a hardener, a mixing container, stirring sticks, gloves, and the items you wish to embed. Additionally, having a silicone mold can be beneficial, as it provides a defined shape for your final product.
Once you have assembled your materials, the first step is to prepare your workspace. It is crucial to work in a well-ventilated area, as the fumes from resin can be potent. Cover your work surface with a protective layer, such as plastic sheeting or newspaper, to prevent any spills from damaging your furniture. After ensuring that your workspace is safe and clean, you can proceed to measure the resin and hardener according to the manufacturer’s instructions. Typically, this involves a specific ratio, often one part hardener to two parts resin, but it is vital to consult the product guidelines for accuracy.
After measuring the components, pour the resin into the mixing container and then add the hardener. Using a stirring stick, mix the two components thoroughly for several minutes, ensuring that there are no streaks or bubbles. This step is critical, as improper mixing can lead to incomplete curing or a cloudy finish. Once the mixture is well combined, allow it to sit for a few minutes to let any bubbles rise to the surface. This waiting period can significantly enhance the clarity of your final product.
With the resin mixture ready, you can now pour a small amount into your silicone mold. This initial layer serves as a base for the items you wish to embed. It is advisable to pour just enough to cover the bottom of the mold, as this will provide a stable foundation for the subsequent layers. After pouring, gently tap the mold on the work surface to help release any trapped air bubbles. Once this base layer has been poured, you can begin arranging your chosen items on top. Whether you are embedding dried flowers, photographs, or small trinkets, take your time to position them as desired, ensuring they are evenly distributed and aesthetically pleasing.
After placing your items, carefully pour additional resin over them, ensuring that they are fully submerged. It is essential to pour slowly and steadily to avoid disturbing the arrangement. If you notice any bubbles forming on the surface, you can use a heat gun or a lighter to gently pass over the area, which will help to pop the bubbles and create a smooth finish. Once you are satisfied with the appearance, cover the mold with a dust-free container to protect it from debris while it cures.
The curing process typically takes 24 to 48 hours, depending on the resin used and the environmental conditions. During this time, it is crucial to avoid moving the mold, as any disturbance can affect the final outcome. After the resin has fully cured, you can carefully remove it from the mold. If necessary, you can sand any rough edges or apply a topcoat for added shine. The result is a beautifully crafted piece that showcases your creativity and preserves your memories in a stunning, durable format. By following these steps, you can successfully embed items in resin, enhancing your scrapbooking and crafting endeavors with a touch of elegance and personalization.
Tips for Finishing and Curing Resin in Craft Projects
When working with resin in scrapbooking and craft projects, achieving a flawless finish and proper curing is essential for the longevity and aesthetic appeal of your creations. To begin with, it is crucial to select the right type of resin for your specific project. Epoxy resin is often favored for its clarity and durability, making it ideal for embedding items or creating glossy surfaces. Conversely, polyester resin may be more suitable for larger projects due to its quicker curing time, although it can be less forgiving in terms of clarity. Understanding the properties of the resin you choose will set the foundation for a successful crafting experience.
Once you have selected your resin, preparation is key. Ensure that your workspace is clean and free from dust, as even the smallest particles can mar the surface of your finished piece. Additionally, it is advisable to work in a well-ventilated area, as the fumes from resin can be potent. Before mixing the resin, gather all necessary materials, including mixing cups, stir sticks, and any embellishments you plan to incorporate. This organization will streamline the process and minimize the risk of errors.
When it comes to mixing the resin, precision is paramount. Follow the manufacturer’s instructions carefully, as the ratio of resin to hardener can significantly affect the curing process. Typically, a 1:1 ratio is common, but variations exist, so it is essential to adhere to the specific guidelines provided. After measuring the components, mix them thoroughly for at least three minutes, ensuring that you scrape the sides and bottom of the mixing cup to achieve a uniform consistency. This step is vital, as incomplete mixing can lead to sticky or improperly cured areas in your final product.
As you pour the resin into your mold or onto your project, take care to do so slowly and steadily. This technique helps to minimize the formation of bubbles, which can detract from the overall appearance of your work. If bubbles do form, a heat gun or a torch can be used to gently pass over the surface, causing them to rise and pop. However, caution is advised, as excessive heat can cause the resin to cure too quickly or even scorch.
After pouring, the curing process begins, and this is where patience becomes a virtue. Most resins require a minimum of 24 hours to cure fully, although some may take longer depending on environmental conditions such as temperature and humidity. It is advisable to cover your project with a dust-free container during this time to prevent debris from settling on the surface. Additionally, avoid moving or disturbing the piece until it has fully cured, as this can lead to imperfections.
Once the resin has cured, the finishing touches can elevate your project to the next level. If necessary, sanding the edges or surface can create a smoother finish. Use fine-grit sandpaper to avoid scratching the resin, and consider applying a polish afterward to restore its shine. For those looking to add an extra layer of protection, a clear acrylic spray can be applied to enhance durability and gloss.
In conclusion, mastering the techniques of finishing and curing resin in scrapbooking and crafts requires attention to detail and a methodical approach. By selecting the appropriate resin, preparing your workspace, mixing accurately, and allowing ample curing time, you can create stunning pieces that showcase your creativity and craftsmanship. With practice, the process will become more intuitive, allowing you to explore the endless possibilities that resin offers in the realm of crafting.
Q&A
1. **What type of resin should I use for scrapbooking and crafts?**
Use epoxy resin, as it is clear, durable, and easy to work with for embedding items and creating decorative elements.
2. **How do I prepare my workspace for using resin?**
Ensure your workspace is well-ventilated, cover surfaces with plastic or newspaper, and wear gloves and a mask to protect yourself from fumes and spills.
3. **What is the best way to mix and pour resin?**
Follow the manufacturer’s instructions for mixing ratios, stir thoroughly to avoid bubbles, and pour slowly to minimize air entrapment.Using resin for scrapbooking and crafts can enhance your projects with a glossy finish and added durability. To effectively use resin, start by selecting the right type of resin for your needs, ensuring it is suitable for crafts. Prepare your workspace by covering surfaces and wearing protective gear. Mix the resin according to the manufacturer’s instructions, ensuring accurate measurements for optimal results. Pour the resin over your scrapbook pages or craft items, and use tools like stir sticks or heat guns to eliminate bubbles and achieve a smooth finish. Allow the resin to cure completely before handling your projects. In conclusion, with careful preparation and attention to detail, resin can elevate your scrapbooking and craft projects, providing a professional and polished look.