-
Table of Contents
“Craft Your Style: Create Stunning Resin Hair Clips with UV Resin!”
Creating resin hair clips with UV resin is a fun and creative craft project that allows you to design unique accessories tailored to your personal style. UV resin is a versatile material that cures quickly under ultraviolet light, making it ideal for intricate designs and detailed embellishments. In this guide, you will learn the essential materials needed, step-by-step instructions for crafting your hair clips, and tips for achieving professional-looking results. Whether you’re a beginner or an experienced crafter, this project offers an opportunity to express your creativity and make beautiful, custom hair accessories.
Materials Needed for UV Resin Hair Clips
Creating resin hair clips using UV resin is a delightful and creative endeavor that allows for personal expression and customization. To embark on this artistic journey, it is essential to gather the appropriate materials, as each component plays a crucial role in the final product. First and foremost, the primary ingredient is UV resin itself. This type of resin is favored for its quick curing time when exposed to UV light, making it ideal for crafting projects. When selecting UV resin, it is advisable to choose a high-quality product that is specifically designed for jewelry-making or crafting, as this ensures clarity and durability.
In addition to the resin, a UV light source is necessary for the curing process. UV lamps or UV flashlights are commonly used, and they come in various forms, including portable options for convenience. It is important to ensure that the UV light emits the appropriate wavelength for curing the resin effectively. Furthermore, a clean, well-ventilated workspace is essential to facilitate the crafting process and to ensure safety while working with resin.
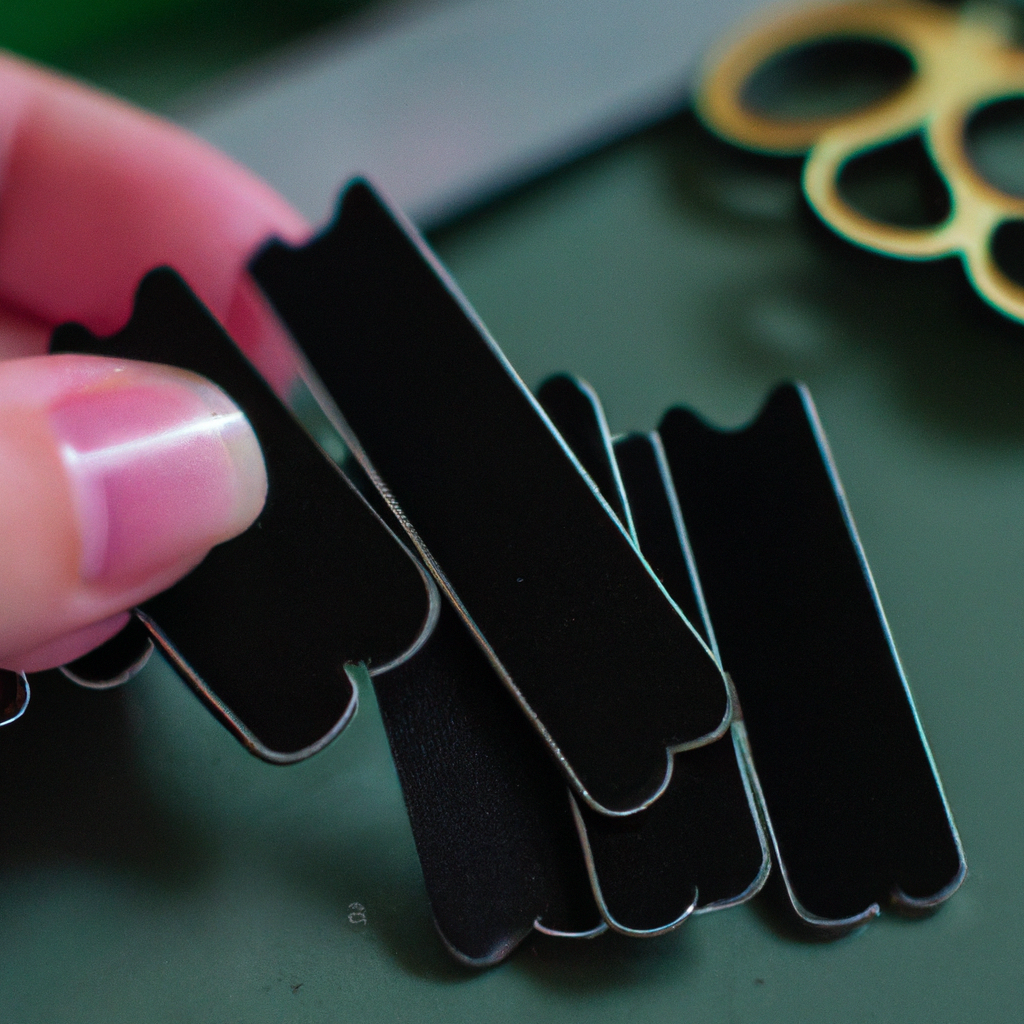
Next, one must consider the molds for the hair clips. Silicone molds are particularly popular due to their flexibility and ease of use. They come in various shapes and sizes, allowing for a range of designs, from simple clips to intricate patterns. When selecting molds, it is beneficial to choose those that are specifically designed for resin, as they will provide a smooth finish and make demolding easier. Additionally, using a mold release spray can further enhance the ease of removing the cured resin from the mold.
To enhance the aesthetic appeal of the hair clips, various embellishments can be incorporated into the resin. These may include dried flowers, glitter, sequins, or even small charms. When choosing embellishments, it is important to consider their compatibility with the resin, as some materials may not adhere well or could react negatively with the resin. Therefore, it is advisable to conduct a small test before committing to a design.
Moreover, tools for mixing and applying the resin are essential for achieving the desired results. A set of disposable mixing cups and stir sticks will facilitate the blending of the resin and any colorants or additives. Additionally, precision applicators, such as pipettes or small brushes, can be useful for applying the resin into the molds and for adding embellishments. It is also wise to have gloves on hand to protect the skin from any potential irritation caused by the resin.
Lastly, a finishing touch is often required to ensure that the hair clips are not only visually appealing but also functional. This may involve attaching hair clip mechanisms, such as alligator clips or barrettes, to the cured resin pieces. Strong adhesive or a hot glue gun can be used for this purpose, ensuring that the clips are securely attached and ready for use.
In conclusion, creating resin hair clips with UV resin is a rewarding process that requires careful selection of materials. By gathering high-quality UV resin, a reliable UV light source, appropriate molds, decorative embellishments, and the necessary tools, one can embark on a creative journey that results in unique and personalized hair accessories. With attention to detail and a bit of practice, the possibilities for design are virtually limitless, allowing for endless creativity in crafting beautiful resin hair clips.
Step-by-Step Guide to Making Resin Hair Clips
Creating resin hair clips using UV resin is a rewarding and creative endeavor that allows for personal expression and customization. The process is relatively straightforward, making it accessible for both beginners and experienced crafters. To begin, gather all necessary materials, which include UV resin, a UV light source, hair clip bases, mixing tools, and decorative elements such as glitter, dried flowers, or pigments. Having everything organized will streamline the crafting process and enhance your overall experience.
Once you have your materials ready, the first step is to prepare your workspace. It is essential to work in a well-ventilated area, as UV resin can emit fumes during the curing process. Additionally, covering your work surface with a protective layer, such as a silicone mat or parchment paper, will help prevent any accidental spills from damaging your workspace. After ensuring your area is safe and clean, you can begin the actual crafting process.
Next, take your hair clip base and decide on the design you wish to create. This is where your creativity can shine. You may choose to incorporate various decorative elements into your resin, such as colorful glitters or small dried flowers. Once you have a clear vision of your design, it is time to mix the UV resin. Carefully pour the resin into a mixing cup, following the manufacturer’s instructions regarding the appropriate ratios if you are using a two-part resin. If you are using a pre-mixed UV resin, simply dispense the desired amount into your mixing container.
After measuring the resin, you can add any pigments or colorants to achieve the desired hue. Stir the mixture thoroughly to ensure an even distribution of color. It is important to note that adding too much pigment can affect the curing process, so moderation is key. Once your resin is mixed and colored to your satisfaction, you can begin pouring it into the hair clip base. Start by adding a small amount of resin to the center of the clip and gently spread it towards the edges using a toothpick or a small spatula. This technique helps to avoid air bubbles and ensures an even layer.
As you pour the resin, you can strategically place your decorative elements within the mixture. For instance, if you are using dried flowers, gently press them into the resin to ensure they are fully encapsulated. This step not only enhances the aesthetic appeal of your hair clip but also adds a unique touch that reflects your personal style. Once you are satisfied with the arrangement, it is time to cure the resin.
Position the hair clip under the UV light source, ensuring that the light reaches all areas of the resin. The curing time may vary depending on the thickness of the resin layer and the strength of your UV light, but typically, it takes about 2 to 5 minutes for the resin to harden completely. After curing, carefully remove the hair clip from the light and inspect it for any imperfections. If necessary, you can sand down any rough edges or apply an additional layer of resin for a smoother finish.
Finally, once you are content with the final product, your resin hair clip is ready to be worn or gifted. This step-by-step guide illustrates the simplicity and joy of creating personalized resin hair clips with UV resin. By following these instructions, you can explore your creativity while crafting unique accessories that showcase your individual style.
Tips for Decorating and Finishing Your UV Resin Hair Clips
Creating resin hair clips with UV resin can be a rewarding and enjoyable craft, allowing for a high degree of personalization and creativity. Once the basic structure of the hair clips is formed, the next step involves decorating and finishing them to achieve a polished and aesthetically pleasing result. To begin with, it is essential to consider the types of embellishments that can be incorporated into the resin. Dried flowers, glitter, and small charms are popular choices that can add a unique touch to each piece. When selecting these materials, it is advisable to choose items that are compatible with resin, ensuring they will not degrade or discolor over time.
After selecting the embellishments, the arrangement becomes crucial. It is beneficial to lay out the chosen items on the clip before pouring the resin. This allows for experimentation with different designs and placements, ensuring that the final look is cohesive and visually appealing. Once satisfied with the arrangement, the next step is to carefully pour the UV resin over the decorations. It is important to pour slowly and steadily to avoid trapping air bubbles, which can mar the surface of the finished clip. If bubbles do form, a gentle heat source, such as a heat gun or a lighter held at a distance, can be used to eliminate them effectively.
Following the pouring of the resin, it is essential to cure it properly. UV resin cures quickly under UV light, typically within a few minutes, but it is advisable to follow the manufacturer’s instructions for optimal results. During the curing process, it is beneficial to rotate the clip occasionally to ensure even exposure to the light, which helps achieve a uniform finish. Once cured, the clip can be inspected for any imperfections. If necessary, a light sanding with fine-grit sandpaper can smooth out any rough edges or uneven surfaces, enhancing the overall appearance.
In addition to the basic decoration techniques, one can also explore the use of pigments and dyes to create stunning color effects. By mixing these pigments into the resin before pouring, one can achieve a variety of shades and gradients. This technique allows for further customization, enabling the creator to match the hair clips to specific outfits or personal styles. Moreover, layering different colors can produce a mesmerizing depth that adds to the visual interest of the final product.
To enhance the durability and longevity of the hair clips, a final layer of clear UV resin can be applied after the initial decoration has cured. This additional layer not only provides extra protection but also gives the clips a glossy finish that enhances their overall appeal. After applying this final layer, it is crucial to cure it thoroughly, ensuring that the clips are ready for everyday use.
Finally, once the hair clips are fully cured and finished, it is advisable to store them properly to prevent any damage. Keeping them in a cool, dry place away from direct sunlight will help maintain their vibrant colors and structural integrity. By following these tips for decorating and finishing UV resin hair clips, crafters can create beautiful, personalized accessories that reflect their unique style and creativity. The process not only fosters artistic expression but also results in functional pieces that can be enjoyed for years to come.
Q&A
1. **What materials do I need to create resin hair clips with UV resin?**
You will need UV resin, hair clip bases, a UV light source, mixing tools, pigments or glitter (optional), and silicone molds (if desired).
2. **What is the process for making resin hair clips?**
First, mix the UV resin with any pigments or glitter. Then, pour the resin into the mold or directly onto the hair clip base. Use a UV light to cure the resin according to the manufacturer’s instructions, usually for 2-5 minutes. Repeat if necessary for additional layers.
3. **How do I finish and attach the clips?**
Once the resin is fully cured, remove the clips from the mold (if used) and ensure all edges are smooth. Attach any additional embellishments if desired, and then securely attach the resin piece to the hair clip base using strong adhesive if not already integrated.To create resin hair clips with UV resin, gather your materials, including UV resin, hair clip bases, molds, and decorative elements. Start by mixing the resin according to the manufacturer’s instructions, then pour it into the molds, adding any embellishments as desired. Cure the resin under a UV light until fully hardened. Once cured, remove the clips from the molds, attach them to the hair clip bases, and finish with any additional touches. This process allows for customization and creativity, resulting in unique, handmade hair accessories.