-
Table of Contents
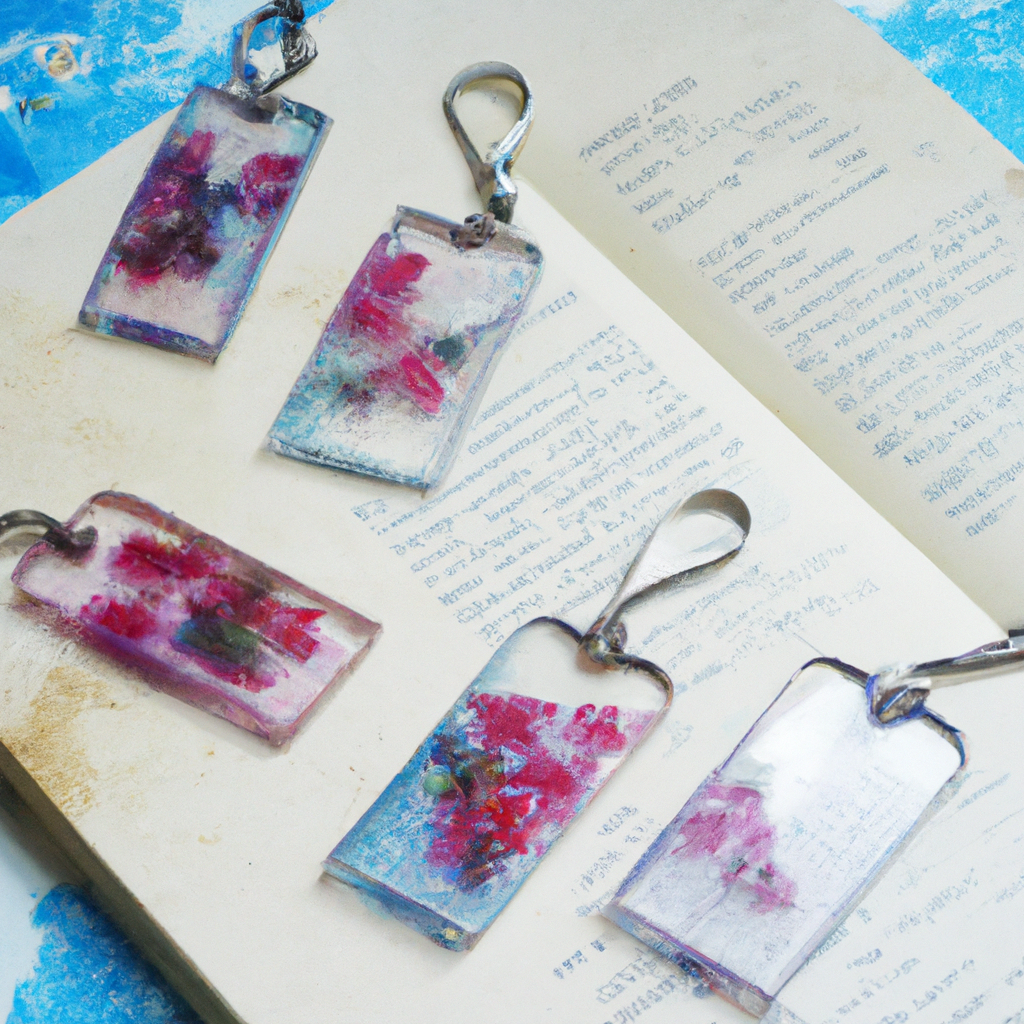
“Craft Your Story: Create Stunning Resin Bookmarks with Our Step-by-Step Tutorial!”
Resin bookmarks are a creative and personalized way to enhance your reading experience while showcasing your artistic flair. This step-by-step tutorial will guide you through the process of making beautiful, durable bookmarks using epoxy resin. With a variety of colors, inclusions, and designs, you can create unique pieces that reflect your style. Whether you’re a beginner or an experienced crafter, this project is perfect for anyone looking to add a touch of elegance to their books. Gather your materials, and let’s dive into the world of resin crafting!
Materials Needed for Resin Bookmark Creation
Creating resin bookmarks is a delightful and rewarding craft that allows individuals to express their creativity while producing functional art. To embark on this project, it is essential to gather the necessary materials, as each component plays a crucial role in the overall outcome of the bookmarks. First and foremost, the primary ingredient for any resin project is, of course, the resin itself. Epoxy resin is the most commonly used type due to its clarity, durability, and ease of use. When selecting resin, it is advisable to choose a high-quality product that is specifically designed for crafting, as this will ensure optimal results.
In addition to resin, a hardener is required to initiate the curing process. Most epoxy resins come with a corresponding hardener that must be mixed in a specific ratio, typically one part resin to one part hardener. It is vital to follow the manufacturer’s instructions closely to achieve the desired consistency and strength. Furthermore, a mixing cup is necessary for combining the resin and hardener. Clear plastic or silicone cups are ideal, as they allow for easy measurement and visibility of the mixture. A set of stirring sticks, preferably wooden or silicone, will also be needed to thoroughly mix the components, ensuring that the hardener is evenly distributed throughout the resin.
Once the resin mixture is prepared, the next step involves selecting a mold for the bookmarks. Silicone molds are highly recommended due to their flexibility and ease of use. They come in various shapes and sizes, allowing for customization according to personal preferences. Additionally, it is beneficial to have a flat surface to work on, as this will help prevent spills and ensure a clean workspace. A protective covering, such as a plastic sheet or newspaper, can be laid down to safeguard the work area from any potential mess.
To enhance the visual appeal of the bookmarks, decorative elements can be incorporated into the resin. Dried flowers, glitter, and colored pigments are popular choices that can add a unique touch to each piece. When selecting these embellishments, it is important to consider their compatibility with resin, as some materials may not cure properly or could affect the clarity of the final product. For instance, using high-quality dried flowers that have been properly preserved will ensure that they maintain their color and shape once encased in resin.
Moreover, tools such as tweezers or a toothpick can be helpful for positioning the decorative elements within the mold. These tools allow for precision and control, ensuring that each bookmark is crafted to perfection. Additionally, a heat gun or torch may be useful for removing air bubbles that can form in the resin during the mixing process. By gently applying heat to the surface of the resin, these bubbles can be eliminated, resulting in a smooth and flawless finish.
Finally, it is essential to have a safe and well-ventilated workspace when working with resin, as the fumes can be harmful if inhaled. Wearing gloves and a mask is also advisable to protect the skin and respiratory system from any potential irritants. By gathering these materials and taking the necessary precautions, individuals can confidently embark on their resin bookmark creation journey, transforming their artistic visions into tangible, beautiful bookmarks that can be cherished for years to come.
Step-by-Step Process for Making Resin Bookmarks
Creating resin bookmarks is a rewarding and creative endeavor that allows individuals to combine artistry with functionality. The process, while straightforward, requires careful attention to detail and adherence to safety protocols. To begin, gather all necessary materials, which include epoxy resin, a hardener, silicone molds, decorative elements such as dried flowers or glitter, mixing cups, stirring sticks, and protective gear like gloves and a mask. Ensuring that your workspace is well-ventilated is crucial, as the fumes from resin can be potent.
Once you have assembled your materials, the first step is to prepare the resin mixture. Following the manufacturer’s instructions, measure out the appropriate ratio of resin to hardener, typically a one-to-one ratio, although this can vary depending on the specific product used. It is essential to mix the components thoroughly to ensure a proper chemical reaction, which will result in a clear and durable finish. Stir the mixture slowly to minimize the introduction of air bubbles, which can mar the final appearance of the bookmarks.
After achieving a uniform mixture, the next phase involves adding decorative elements. This is where creativity can truly shine. Consider incorporating dried flowers, leaves, or even small photographs to personalize each bookmark. When placing these items into the mold, it is advisable to pour a thin layer of resin first, allowing it to partially cure before adding the decorations. This technique helps to secure the items in place and prevents them from floating to the surface. Once the decorative elements are arranged to your satisfaction, carefully pour additional resin over them, ensuring that they are fully submerged.
As the resin begins to cure, it is important to monitor the process closely. Depending on the type of resin used, curing times can vary significantly, ranging from several hours to a full day. During this period, it is advisable to cover the molds with a dust-free environment to prevent debris from settling on the surface. If bubbles do form, a heat gun or a torch can be used to gently pass over the surface, causing them to rise and pop. This step is crucial for achieving a smooth finish.
Once the resin has fully cured, the next step is demolding. Carefully flex the silicone mold to release the bookmarks without damaging them. At this stage, you may notice rough edges or imperfections. To address this, fine-grit sandpaper can be employed to smooth out any uneven areas, ensuring a polished look. Additionally, if desired, a layer of clear resin can be applied to the surface for added shine and protection.
Finally, to complete the bookmarks, consider adding a ribbon or tassel at the top. This not only enhances the aesthetic appeal but also provides a practical element for easy handling. The bookmarks can then be packaged as gifts or used personally, showcasing the unique designs created through this process. In conclusion, making resin bookmarks is an enjoyable craft that combines creativity with practicality. By following these steps and allowing for personal expression, one can create beautiful, functional art pieces that are sure to be cherished.
Tips for Customizing Your Resin Bookmarks
Customizing resin bookmarks offers a unique opportunity to express creativity while crafting a functional item. To begin with, selecting the right materials is crucial. High-quality epoxy resin is essential, as it ensures durability and clarity. Additionally, choosing the appropriate mold is vital; silicone molds are often preferred due to their flexibility and ease of use. Once the materials are gathered, the next step involves deciding on the design elements to incorporate into the bookmarks. This is where personalization truly shines.
For instance, one can consider embedding dried flowers, glitter, or even small photographs within the resin. Dried flowers add a natural aesthetic, while glitter can introduce a touch of sparkle, making the bookmarks visually appealing. When selecting flowers, it is advisable to choose those that retain their color and shape after drying, such as lavender or daisies. Furthermore, layering these elements can create depth, enhancing the overall appearance of the bookmark.
Moreover, color choices play a significant role in customization. Adding pigments or dyes to the resin can yield vibrant hues that complement the embedded items. It is important to mix the colors thoroughly to achieve a uniform appearance. Additionally, experimenting with different color combinations can lead to stunning results. For example, a gradient effect can be achieved by pouring layers of different colored resins, creating a visually striking bookmark that captures attention.
In addition to visual elements, incorporating textures can elevate the design. This can be accomplished by using various materials such as fabric or lace, which can be embedded in the resin to create a unique tactile experience. Textured bookmarks not only serve a practical purpose but also become conversation starters, showcasing the maker’s artistic flair.
Once the design elements are finalized, the next step involves the actual pouring of the resin. It is essential to follow the manufacturer’s instructions regarding mixing ratios and curing times to ensure optimal results. Pouring the resin slowly and steadily into the mold helps to minimize air bubbles, which can detract from the final product. If bubbles do form, a heat gun or a torch can be used to gently pop them, ensuring a smooth finish.
After the resin has cured, demolding is an exciting phase, revealing the customized bookmarks. However, it is important to handle them with care, as they can be delicate immediately after removal. At this stage, additional finishing touches can be applied. Sanding the edges can create a polished look, while adding a protective coating can enhance durability. Furthermore, attaching a tassel or ribbon can add a functional element, making the bookmarks easier to locate within a book.
Finally, sharing these customized resin bookmarks can be a rewarding experience. Whether gifting them to friends or selling them at craft fairs, the personal touch imbued in each piece resonates with recipients. In conclusion, customizing resin bookmarks is not only a creative endeavor but also a means of producing unique, functional art. By carefully selecting materials, incorporating personal design elements, and following proper techniques, one can create beautiful bookmarks that reflect individual style and creativity.
Q&A
1. **What materials are needed to create resin bookmarks?**
You will need epoxy resin, a mixing cup, stirring stick, bookmark mold, decorative items (like dried flowers or glitter), gloves, and a heat gun or torch to remove bubbles.
2. **What is the first step in the resin bookmark-making process?**
The first step is to prepare your workspace by covering surfaces with a protective layer and gathering all materials. Then, mix the epoxy resin according to the manufacturer’s instructions.
3. **How do you remove bubbles from the resin after pouring it into the mold?**
After pouring the resin into the mold, use a heat gun or torch to gently pass over the surface, which will help to pop any bubbles that have formed.In conclusion, creating resin bookmarks involves a straightforward process that includes gathering materials, preparing the resin, adding decorative elements, pouring the mixture into molds, and allowing it to cure. This craft not only results in unique and personalized bookmarks but also provides an enjoyable and creative outlet. With attention to detail and proper safety measures, anyone can successfully make beautiful resin bookmarks that are both functional and aesthetically pleasing.