-
Table of Contents
“Master the Art of UV Resin Curing: Perfect Results Every Time!”
Curing UV resin properly is essential for achieving strong, clear, and durable results in various crafting and repair projects. UV resin is a versatile material that hardens when exposed to ultraviolet light, making it popular for jewelry making, model building, and other creative applications. However, improper curing can lead to issues such as tackiness, incomplete hardening, or yellowing over time. This guide will outline the best practices for curing UV resin effectively, ensuring consistent results every time. By understanding the importance of light exposure, curing time, and environmental factors, you can master the art of UV resin curing and enhance the quality of your projects.
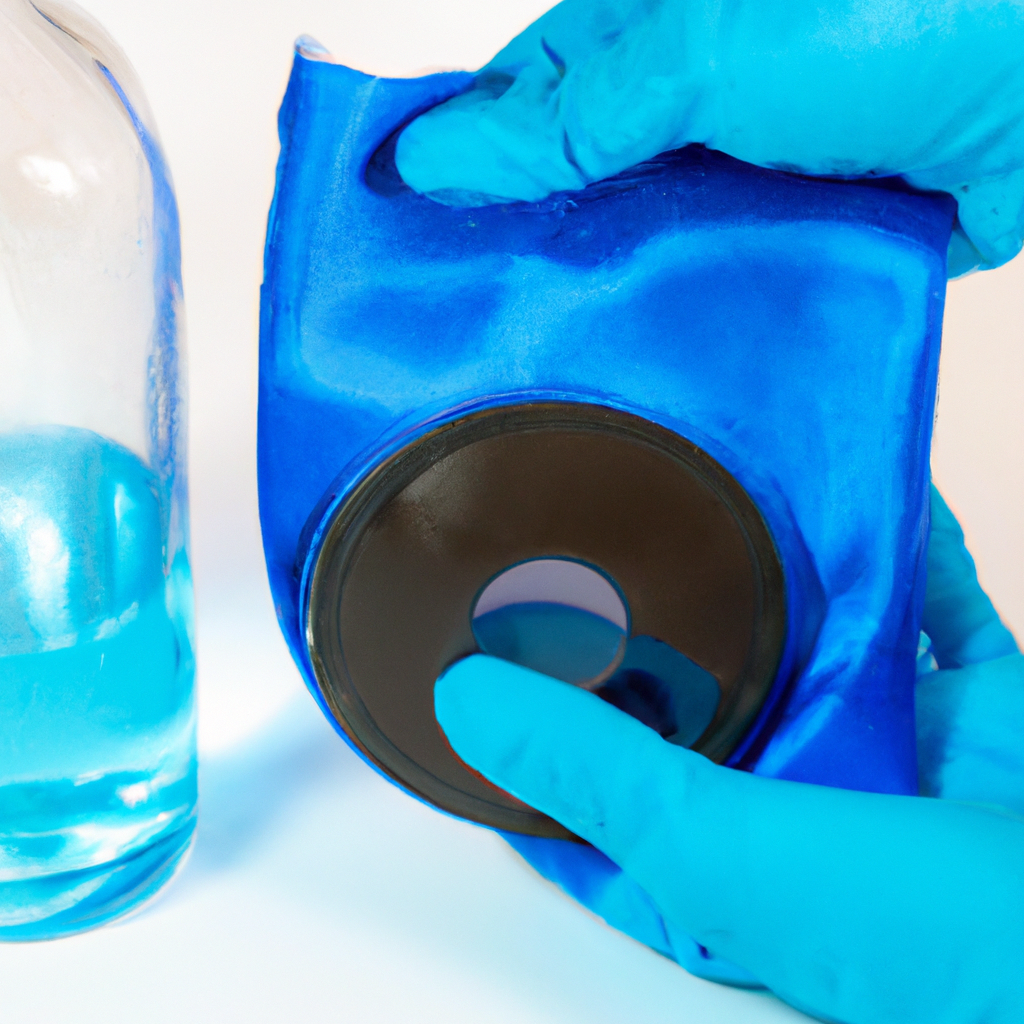
Proper UV Light Selection for Curing Resin
When it comes to curing UV resin effectively, the selection of the appropriate UV light is paramount. The right light not only ensures that the resin cures properly but also enhances the overall quality of the finished product. To begin with, it is essential to understand the different types of UV lights available on the market. Common options include UV LED lamps and traditional UV fluorescent lamps. Each type has its own advantages and disadvantages, which can significantly impact the curing process.
UV LED lamps are increasingly popular due to their energy efficiency and longer lifespan. They emit a specific wavelength of light, typically around 365 to 405 nanometers, which is ideal for curing most UV resins. This targeted wavelength allows for a quicker curing time, often within minutes, making them a preferred choice for many artisans and hobbyists. Furthermore, UV LED lamps generate less heat compared to fluorescent lamps, reducing the risk of damaging delicate projects. However, it is crucial to ensure that the resin being used is compatible with the specific wavelength of the LED lamp, as not all resins cure effectively under every type of UV light.
On the other hand, traditional UV fluorescent lamps have been used for many years and are known for their broad spectrum of UV light. This characteristic allows them to cure a wider variety of resins, making them a versatile option for those who work with different materials. However, they tend to have a shorter lifespan and can be less energy-efficient than their LED counterparts. Additionally, the heat generated by fluorescent lamps can sometimes lead to warping or other damage to sensitive items, which is a significant consideration for intricate projects.
In addition to the type of UV light, the intensity of the light source plays a critical role in the curing process. A higher intensity light will cure resin more quickly and thoroughly, reducing the likelihood of tacky or uncured spots. When selecting a UV light, it is advisable to consider the wattage and the distance from the light source to the resin. Generally, the closer the light is to the resin, the more effective the curing will be. However, care must be taken to avoid overheating the resin, which can lead to undesirable effects.
Moreover, the duration of exposure to UV light is another vital factor in achieving a successful cure. While many UV resins will cure within a few minutes, the exact time can vary based on the thickness of the resin layer and the specific type of UV light used. It is often beneficial to follow the manufacturer’s recommendations regarding curing times, as this can help ensure optimal results. Additionally, performing a test cure on a small sample can provide valuable insights into the effectiveness of the chosen light source and the resin’s response.
In conclusion, selecting the proper UV light for curing resin is a multifaceted decision that requires careful consideration of various factors, including the type of light, its intensity, and the duration of exposure. By understanding these elements and how they interact with the resin, one can achieve consistent and high-quality results every time. Ultimately, investing time in selecting the right UV light will pay off in the form of beautifully cured resin projects that meet the desired standards of quality and durability.
Ideal Temperature and Humidity Conditions for Curing
Curing UV resin effectively requires a keen understanding of the ideal temperature and humidity conditions that facilitate the process. The curing of UV resin is a photopolymerization reaction, which means that it relies heavily on exposure to ultraviolet light. However, the efficiency of this reaction can be significantly influenced by the surrounding environmental conditions, particularly temperature and humidity. Therefore, achieving optimal curing results necessitates careful attention to these factors.
To begin with, temperature plays a crucial role in the curing process. Generally, the ideal temperature range for curing UV resin is between 20°C to 25°C (68°F to 77°F). Within this range, the resin maintains its viscosity at a level that allows for even distribution and effective light penetration. If the temperature is too low, the resin may become overly viscous, leading to incomplete curing and a tacky finish. Conversely, excessively high temperatures can accelerate the curing process too quickly, resulting in uneven hardening and potential warping of the final product. Therefore, maintaining a stable temperature within the recommended range is essential for achieving consistent results.
In addition to temperature, humidity is another critical factor that can affect the curing of UV resin. Ideally, the relative humidity should be kept below 60%. High humidity levels can introduce moisture into the curing environment, which can interfere with the photopolymerization process. When moisture is present, it can lead to issues such as cloudiness in the cured resin or even inhibit the curing altogether. This is particularly important in regions with high humidity or during rainy seasons, where additional measures may be necessary to control the environment. Utilizing a dehumidifier or air conditioning can help maintain optimal humidity levels, ensuring that the resin cures properly.
Moreover, it is important to consider the curing environment itself. A well-ventilated area is preferable, as it helps to disperse any fumes released during the curing process. Additionally, ensuring that the workspace is free from dust and debris is vital, as these particles can settle on the uncured resin and affect the final appearance. A clean, controlled environment not only enhances the quality of the cured resin but also contributes to the overall safety of the process.
Furthermore, the type of UV light source used for curing can also impact the effectiveness of the process. Different UV lamps emit varying wavelengths of light, and it is essential to use a lamp that is compatible with the specific resin being cured. For instance, some resins require a specific wavelength to achieve optimal curing, and using the wrong type of light can lead to incomplete hardening. Therefore, it is advisable to consult the manufacturer’s guidelines regarding the appropriate light source for the resin in use.
In conclusion, achieving successful curing of UV resin hinges on maintaining ideal temperature and humidity conditions. By ensuring that the temperature remains within the recommended range and keeping humidity levels low, one can significantly enhance the quality of the cured product. Additionally, creating a clean and well-ventilated workspace, along with using the correct UV light source, further contributes to achieving consistent and satisfactory results. By paying attention to these environmental factors, one can cure UV resin properly every time, leading to high-quality outcomes in various applications.
Step-by-Step Guide to Achieving a Flawless Cure
Curing UV resin properly is essential for achieving a flawless finish in your projects, whether you are creating jewelry, crafts, or functional items. The process of curing UV resin involves exposing it to ultraviolet light, which initiates a chemical reaction that transforms the liquid resin into a solid state. To ensure that you achieve the best results every time, it is important to follow a systematic approach.
First and foremost, preparation is key. Begin by selecting a clean, dust-free workspace to minimize the risk of contaminants affecting the curing process. Gather all necessary materials, including your UV resin, a UV light source, and any molds or tools you plan to use. It is advisable to read the manufacturer’s instructions for the specific resin you are using, as different products may have varying requirements for curing times and light exposure.
Once your workspace is prepared, the next step is to measure and mix the resin if required. Some UV resins come pre-mixed, while others may need to be combined with hardeners or pigments. If you are adding color or other additives, ensure that they are compatible with the resin to avoid any adverse reactions. After mixing, pour the resin into your mold or onto your project surface, taking care to avoid bubbles. If bubbles do form, you can gently heat the resin with a heat gun or torch to encourage them to rise to the surface and pop.
After pouring the resin, it is time to cure it under the UV light. Position the UV light source at an appropriate distance from the resin, as the intensity of the light can significantly affect the curing process. Generally, a distance of 2 to 6 inches is recommended, but this may vary based on the specific UV light you are using. Turn on the light and allow the resin to cure for the recommended time, which can range from a few seconds to several minutes, depending on the thickness of the resin layer and the power of the UV light.
During the curing process, it is important to monitor the resin closely. If you notice any areas that appear uncured or sticky after the initial curing time, you may need to extend the exposure to UV light. Additionally, rotating the project or moving the light source can help ensure even curing, particularly for thicker applications. Once the resin has fully cured, it should feel hard and no longer tacky to the touch.
After achieving a complete cure, you can proceed to finish your project. This may involve sanding, polishing, or adding additional layers of resin for a glossy finish. If you plan to apply more resin, ensure that the surface is clean and free of dust or debris to promote adhesion.
In conclusion, curing UV resin properly requires careful preparation, attention to detail, and adherence to the recommended guidelines. By following these steps diligently, you can achieve a flawless cure every time, resulting in beautiful and durable finished products. With practice and experience, you will become more adept at recognizing the nuances of the curing process, allowing you to refine your techniques and enhance the quality of your work.
Q&A
1. **What is the ideal UV light exposure time for curing UV resin?**
The ideal exposure time varies by the thickness of the resin layer and the power of the UV light, but generally, it ranges from 2 to 10 minutes under a UV lamp.
2. **How can I ensure even curing of UV resin?**
To ensure even curing, apply the resin in thin layers, rotate the item during curing, and use a UV light with a consistent intensity.
3. **What should I do if my UV resin remains tacky after curing?**
If the resin is tacky, it may need additional curing time under UV light. Ensure the light is strong enough and that the resin is not too thick; reapply UV light for a few more minutes.To cure UV resin properly every time, ensure you use a high-quality UV light source with the appropriate wavelength, typically around 365-405 nm. Prepare a clean, dust-free workspace and apply the resin in thin layers to promote even curing. Position the UV light at the recommended distance from the resin and cure for the specified time, usually between 1 to 5 minutes, depending on the thickness and type of resin. Rotate the piece if necessary to ensure all surfaces are exposed to the light. Finally, allow the cured resin to cool and harden completely before handling. Following these steps will help achieve consistent and reliable results with UV resin projects.