-
Table of Contents
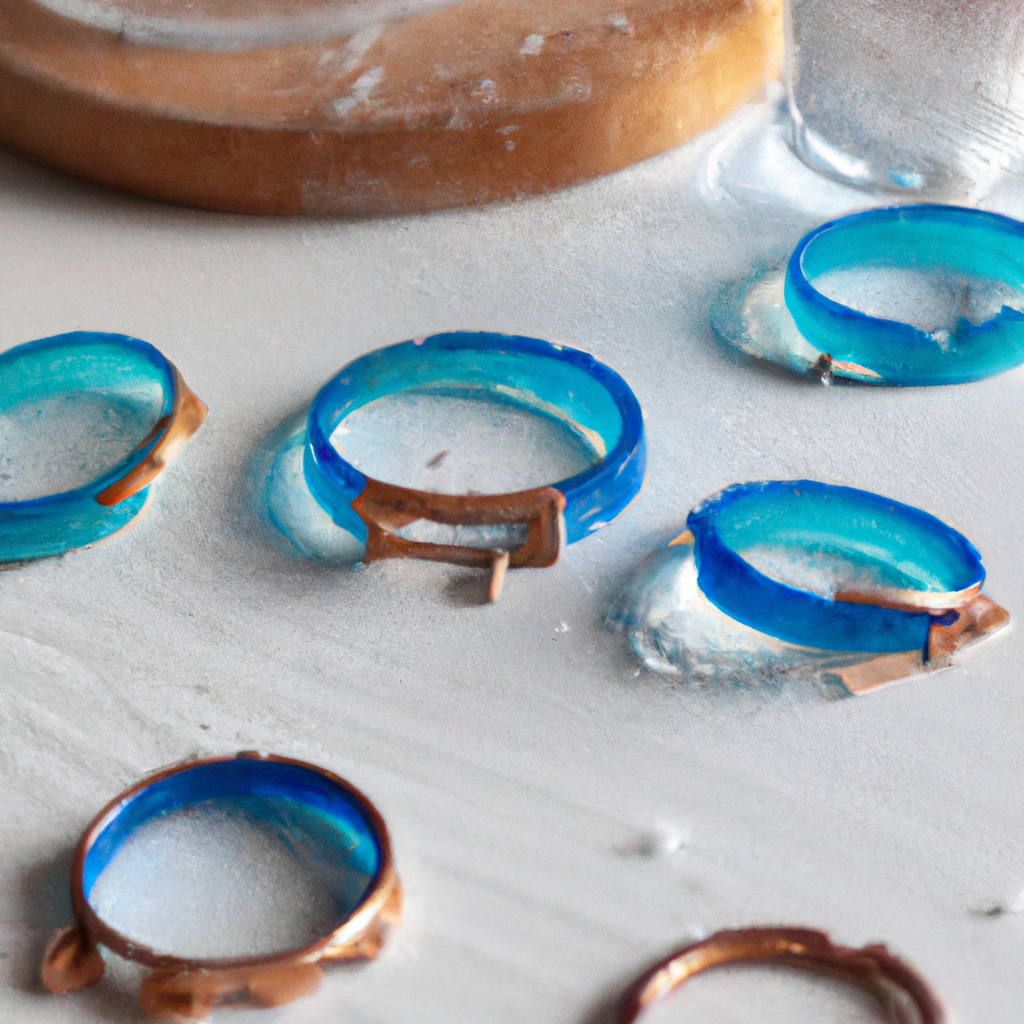
“Craft Your Style: Create Unique Custom Resin Rings at Home!”
Creating custom resin rings at home is a rewarding and creative process that allows you to design unique pieces of jewelry tailored to your personal style. With just a few materials and tools, you can transform resin into stunning rings that showcase your creativity. This guide will walk you through the essential steps, from selecting the right resin and molds to adding colors and embellishments, ensuring that you can craft beautiful, one-of-a-kind rings that make a statement. Whether you’re a beginner or an experienced crafter, making resin rings can be a fun and fulfilling project.
Materials Needed for Custom Resin Rings
Creating custom resin rings at home is an engaging and rewarding craft that allows for personal expression and creativity. To embark on this artistic journey, it is essential to gather the appropriate materials, as they play a crucial role in the quality and outcome of the final product. The primary component required for making resin rings is, of course, the epoxy resin itself. This two-part material typically consists of a resin and a hardener, which, when mixed together, undergo a chemical reaction that results in a solid, durable finish. It is advisable to select a high-quality epoxy resin specifically designed for jewelry making, as this will ensure clarity, strength, and a smooth finish.
In addition to the resin, a silicone mold is necessary for shaping the rings. Silicone molds are preferred due to their flexibility, which allows for easy removal of the cured resin without damaging the ring. These molds come in various sizes and designs, enabling crafters to create rings that suit their personal style. When selecting a mold, it is important to consider the desired ring size and shape, as well as any intricate details that may enhance the overall aesthetic.
Furthermore, to add unique elements to the resin, various inclusions can be utilized. These inclusions can range from dried flowers and glitter to small beads and colored pigments. Dried flowers, for instance, can impart a natural and organic feel to the rings, while glitter can add a touch of sparkle and vibrancy. When choosing inclusions, it is essential to ensure that they are compatible with the resin and will not adversely affect the curing process. Additionally, using color pigments can allow for further customization, enabling the creation of rings in a spectrum of hues.
To facilitate the mixing and pouring process, a set of measuring cups and stirring sticks is also required. Accurate measurement of the resin and hardener is critical, as improper ratios can lead to incomplete curing or a sticky finish. Therefore, using graduated measuring cups will help ensure precision. Stirring sticks, which can be made from wood or plastic, are necessary for thoroughly mixing the resin and hardener, ensuring that the two components are fully integrated before pouring them into the mold.
Moreover, safety equipment should not be overlooked. Working with resin can involve exposure to fumes and skin irritants, so it is advisable to wear gloves and a mask to protect oneself during the crafting process. Additionally, working in a well-ventilated area will help minimize inhalation of any potentially harmful vapors.
Lastly, a heat gun or torch can be beneficial for removing bubbles that may form in the resin during the mixing process. These bubbles can detract from the clarity and overall appearance of the finished ring, so employing a heat source can help achieve a smooth and flawless surface.
In conclusion, making custom resin rings at home requires a thoughtful selection of materials, including high-quality epoxy resin, silicone molds, various inclusions, measuring tools, safety equipment, and a heat source. By gathering these essential components, crafters can embark on a fulfilling creative endeavor that results in unique and personalized jewelry pieces. With careful preparation and attention to detail, the process of creating resin rings can be both enjoyable and rewarding.
Step-by-Step Guide to Pouring Resin
Creating custom resin rings at home can be a rewarding and creative endeavor, allowing individuals to express their unique style and personality. The process of pouring resin is a crucial step in crafting these beautiful accessories, and understanding the intricacies involved can significantly enhance the final product. To begin, it is essential to gather all necessary materials, which typically include epoxy resin, a hardener, a mixing cup, stirring sticks, gloves, and a mold specifically designed for rings. Additionally, incorporating decorative elements such as glitter, dried flowers, or pigments can elevate the aesthetic appeal of the finished piece.
Once all materials are assembled, the first step is to prepare the workspace. It is advisable to work in a well-ventilated area, as the fumes from resin can be potent. Covering the work surface with a protective layer, such as plastic sheeting or newspaper, will help contain any spills or drips. After ensuring the workspace is ready, the next step involves measuring the resin and hardener. It is crucial to follow the manufacturer’s instructions regarding the mixing ratio, as improper proportions can lead to incomplete curing or a sticky finish. Typically, the ratio is expressed in parts, such as one part resin to one part hardener.
With the measurements taken, the next phase is to combine the resin and hardener in the mixing cup. Using a stirring stick, gently mix the two components together, ensuring that they are thoroughly combined. It is important to stir slowly to minimize the introduction of air bubbles, which can mar the clarity of the finished ring. After mixing for the recommended time, which is usually around three to five minutes, the mixture should appear clear and uniform. At this point, if desired, one can add colorants or decorative elements to the resin. This is an excellent opportunity to experiment with different hues and textures, as the possibilities are virtually limitless.
Once the resin mixture is ready, the next step is to pour it into the mold. Carefully pouring the resin into the ring mold is essential to avoid creating air pockets. It is advisable to start from one side of the mold and allow the resin to flow naturally to fill the space. If air bubbles do form, they can often be eliminated by gently tapping the mold or using a heat gun to warm the surface slightly, which encourages the bubbles to rise and pop. After the mold is filled, it is crucial to let the resin cure undisturbed. The curing time can vary depending on the specific resin used, but it typically ranges from 24 to 48 hours.
During the curing process, it is important to keep the mold in a dust-free environment to prevent any particles from settling on the surface of the resin. Once the curing period is complete, the next step is to demold the ring. Carefully removing the ring from the mold can be done by gently flexing the mold or using a craft knife to release any stubborn edges. After demolding, any rough edges can be smoothed out using sandpaper or a file, ensuring a comfortable fit for the wearer.
In conclusion, pouring resin to create custom rings at home is a meticulous yet enjoyable process that allows for personal expression. By following these steps and paying attention to detail, one can produce stunning, one-of-a-kind pieces that reflect individual creativity and style. With practice and experimentation, the art of resin ring making can become a fulfilling hobby or even a small business venture.
Tips for Adding Color and Embellishments to Resin Rings
Creating custom resin rings at home offers a unique opportunity to express personal style and creativity. One of the most exciting aspects of this craft is the ability to incorporate color and embellishments, transforming a simple ring into a stunning piece of jewelry. To achieve the desired aesthetic, it is essential to understand the various methods and materials available for adding color and embellishments to resin.
To begin with, selecting the right type of resin is crucial. Epoxy resin is a popular choice due to its clarity and durability, making it ideal for jewelry making. Once the resin is prepared, the next step involves choosing the appropriate colorants. There are several options available, including liquid dyes, mica powders, and alcohol inks. Liquid dyes are particularly effective for achieving vibrant colors, while mica powders can add a shimmering effect. Alcohol inks, on the other hand, provide a more fluid and unpredictable color distribution, which can create beautiful marbled effects. When using these colorants, it is advisable to start with small amounts and gradually increase until the desired shade is achieved, as it is easier to add more color than to remove it.
In addition to color, incorporating embellishments can elevate the design of resin rings. Common embellishments include dried flowers, glitter, beads, and even small charms. When selecting embellishments, it is important to consider their compatibility with resin. For instance, dried flowers should be thoroughly dried to prevent any moisture from affecting the curing process. Similarly, glitter can add a touch of sparkle, but it is essential to choose a type that is specifically designed for use in resin to ensure it does not clump or lose its luster over time. When adding these elements, it is advisable to layer them strategically within the resin. For example, placing heavier items at the bottom and lighter items on top can create a visually appealing depth.
Moreover, the timing of adding color and embellishments is critical. After mixing the resin and hardener, it is important to wait until the mixture reaches a slightly thickened state before adding colorants and embellishments. This ensures that the items remain suspended within the resin rather than sinking to the bottom. Additionally, stirring the mixture gently can help distribute the color evenly without introducing too many bubbles, which can mar the final appearance of the ring.
As the resin begins to cure, it is essential to monitor the process closely. Depending on the type of resin used, the curing time can vary significantly. During this period, it is advisable to keep the rings in a dust-free environment to prevent any debris from settling on the surface. Once the resin has fully cured, the rings can be demolded and finished. Sanding the edges can create a smooth finish, while polishing can enhance the clarity and shine of the resin.
In conclusion, making custom resin rings at home allows for endless possibilities in terms of color and embellishments. By carefully selecting materials, timing the addition of colorants and embellishments, and ensuring a clean curing environment, crafters can create stunning, personalized pieces. With practice and experimentation, anyone can master the art of resin ring making, resulting in unique jewelry that reflects individual style and creativity.
Q&A
1. **What materials do I need to make custom resin rings at home?**
You will need epoxy resin, a hardener, a silicone ring mold, mixing cups, stirring sticks, gloves, and any decorative elements like glitter, dried flowers, or pigments.
2. **What is the process for mixing and pouring the resin?**
Measure equal parts of resin and hardener according to the manufacturer’s instructions, mix thoroughly for several minutes, then add any colorants or decorations. Pour the mixture into the silicone mold and let it cure for the recommended time.
3. **How do I remove the ring from the mold once it’s cured?**
Once the resin has fully cured, gently flex the silicone mold to release the ring. If necessary, use a craft knife to carefully trim any excess resin from the edges.To make custom resin rings at home, gather materials such as epoxy resin, a ring mold, pigments, and any decorative elements you wish to include. Prepare the workspace by ensuring it is well-ventilated and protected from spills. Mix the resin according to the manufacturer’s instructions, adding pigments or inclusions as desired. Pour the mixture into the mold, allowing it to cure fully as per the recommended time. Once cured, demold the ring and sand any rough edges for a smooth finish. Finally, apply a polish for added shine. This process allows for creativity and personalization, resulting in unique, handmade jewelry.